Secret Dates: Oil Painting Class
An Oil Painting Class is a challenging and fun date idea
This week’s secret date was an oil painting class, at MazArt Studio, in Scholar Green. We came for a painting class here around two years ago. As we really enjoyed it, it was a bit of a no-brainer to come back again. There doesn’t seem to be anything else like it locally.
An oil painting class is a brilliant date idea! It allows the two of you to spend some quality together, whilst getting your creative juices flowing. You will also end up with your own piece of artwork to be proud of. More than likely, you will come up with your own interpretations of the painting, which will be a great conversation point. You will surely love taking them home to show your friends and family too. For most of us, it is a chance to learn something new. Who cares if you are not the next Van Gogh or Rembrandt? You will surely have lots of fun at a painting class without feeling that you have to keep talking to impress your date.
There were nine of us in total, including a mixture of ages and genders. Nobody should feel that they wouldn’t fit in here. All you have to take with you is an apron, a kitchen roll, and a packed lunch. MazArt is the business name of Marion Dutton. Marion is a fantastic artist who not only makes everything look easy, but shows you how easy it can be too. The studio is annexed to her house, and has its own separate entrance at the back.
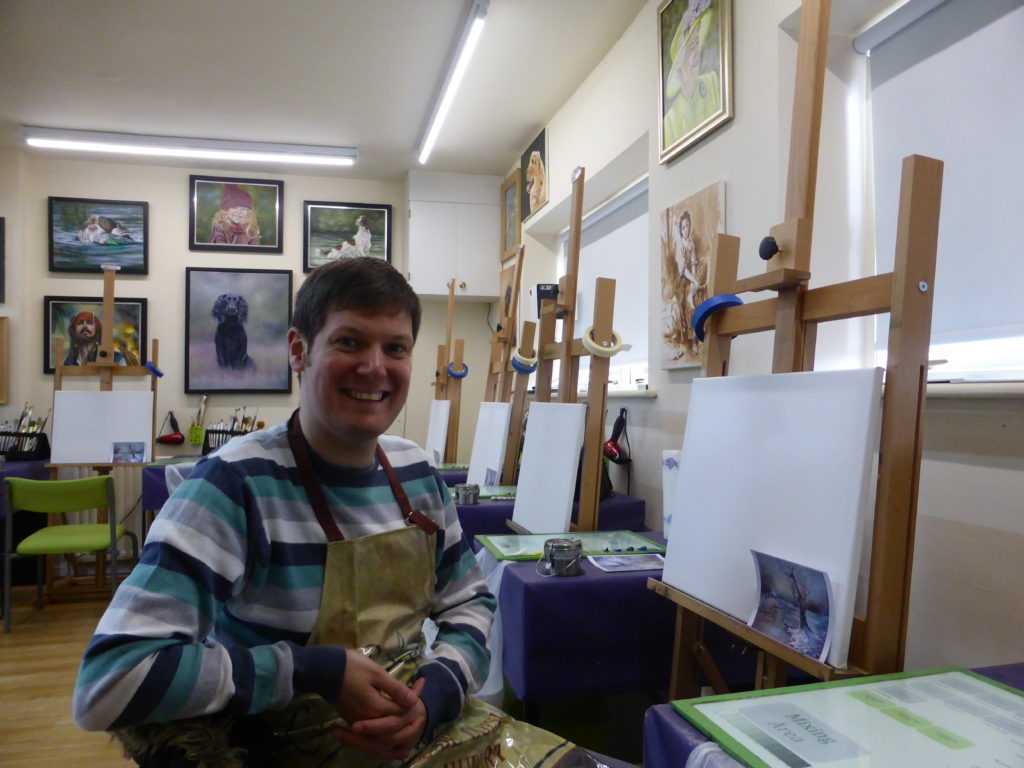
Pick a painting from the website which you would love to recreate
The way the classes work is that Marion chooses a painting (you know which one it will be before you book), and then paints it step by step. She shows you how it is done, and you then go off to your own workstation and do your best to recreate it. The slight problem I had was that she taught us maybe three or four small parts at once. I then struggled to remember what was what, and had to ask Amy, which was a bit annoying for her. I saw one lady had a notebook, which she was writing notes in, which seems like a brilliant idea.
The painting we chose was called ‘Bleak Mid Winter’, and featured a river running through snowy banks. The scene contained a few dead trees, a small house, and a sun setting in the background, as well as a canoe parked up. We started by covering our canvas in liquid white. This helps the oils to run more freely. You then cover it in a coat of blue, which is actually made up of a few different colours mixed to your own taste to provide a background sky. The whole painting is done in layers like this, and is a fascinating process.
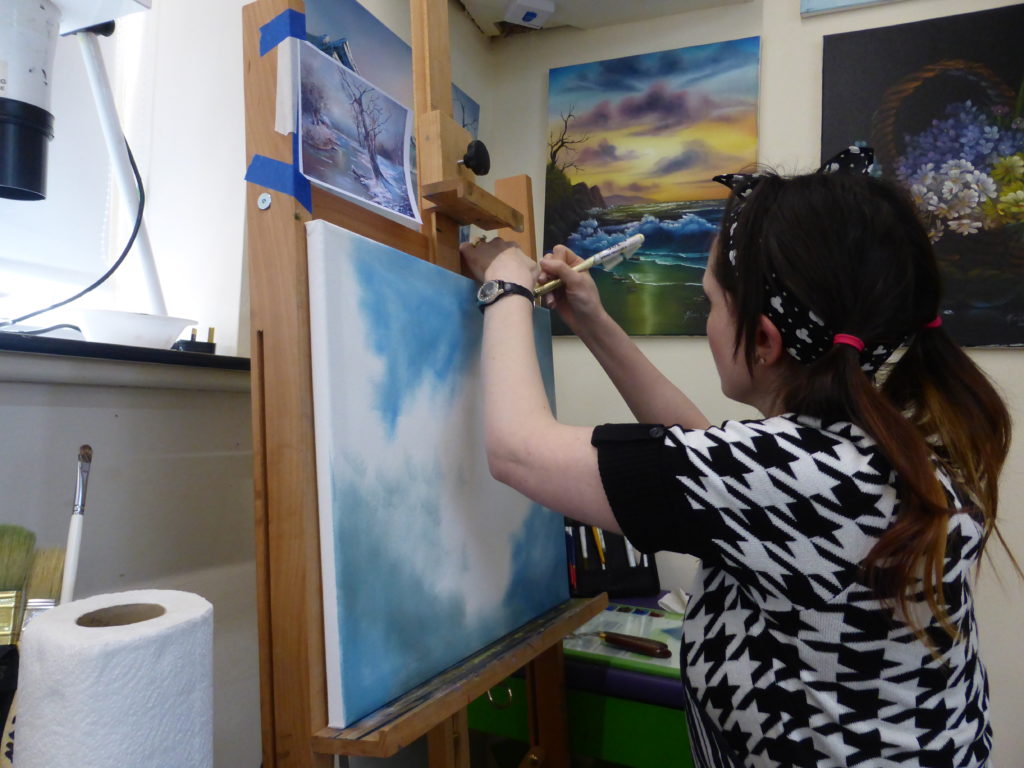
Maz then got us to draw a line to symbolise the horizon, before painting in the sun. She gets you using different colours to get the haze of the sun spreading out. Of course, we had to reflect this in the water too. Clouds were next, though mine got described as bananas by both Amy and Maz. Maz gave me a bit of extra help to blend them in a bit. Amy went much darker on the clouds than me, so obviously was going for very bleak.
People of all abilities will enjoy an oil painting class
Next we painted in the background trees using a rough triangle shape. The bloke next to me was brilliant at this, as he was a landscape painter, though he normally used watercolours. You then used the pallet knife to scratch out some detail for the trees. We stopped for lunch at this point. Maz did provide some snacks, but we didn’t get chance to look what they were.

The next bit was to create the lay of the land where the river would run through. We initially lightly scratched this out using the pallet knife, then used some oil paints to paint in the edges of the land. We had two different types of snow; warm snow, which is made with white and a hint of yellow (where the sun is hitting it), and cool snow. This is white and a hint of blue (where the sun isn’t hitting it). The next bit was my favourite, which was creating the little house on the banks. My house looked very cute, with little windows and a door that looked like a baby owl to me. We used the snow over the top of the roof, which really made it stand out.
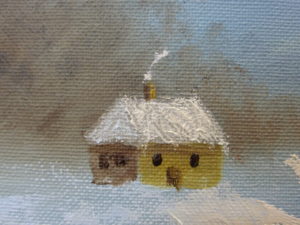
You will learn lots of effective techniques at an oil painting class
The trees were next, and we had four in total. First, we just made the basic shape with burnt umber paint, before dabbing on some yellowy colour and then more brown. We used a new and effective technique that Maz had discovered, which really made the trees look more realistic with little effort. We also added both types of snow to the trees. I really struggled with the branches, as I forgot what she said to do. It was clear that my initial efforts didn’t look right at all. Eventually it turned out that I had forgotten to add extra oil to the paint, which helped the branches to flow easier. We added a bit of snow to the branches too.
Next, we added some bullrushes on one of the banks of the river. This was rather simple really, just brushing some paint on, and then using the brush to define some of the stalks. Not forgetting the reflection too. The last tree was the largest one, that was in the foreground of the picture. We did this in the same way as before, but just did it wider. In between, while waiting for our next instruction, we added some more of the snow on the banks to fill out some of the empty space.

Finishing your painting is one of the hardest things to do
The last bit of instruction was the most rushed. We were already coming up to the scheduled end of the session, and there was quite a few bits left to do. Maz wasn’t at all rushing us to finish, but we had to be careful of the time as we were going to an event that night. Therefore, it put a bit of pressure on us. First off, we added in a canoe that was parked up on the banks of the river by the largest tree. I had messed up a bit here, as my banks came out further than the tree. Therefore, the canoe couldn’t park up like it was supposed to do. Maz came up with a solution to park mine up on the land, which looked fine. I wasn’t happy with my canoe though, and was kind of kicking myself for adding it in.
We also added some rocks to the bottom of the picture. Amy’s looked much more impressive than mine. However, I think I was just a bit too conscious of the time to put too much effort into it. Amy certainly wasn’t rushing though! The last bit was to add some shading onto the banks, and add some ripples into the water. Our finished paintings can be seen in the featured image, here is Marion with hers.
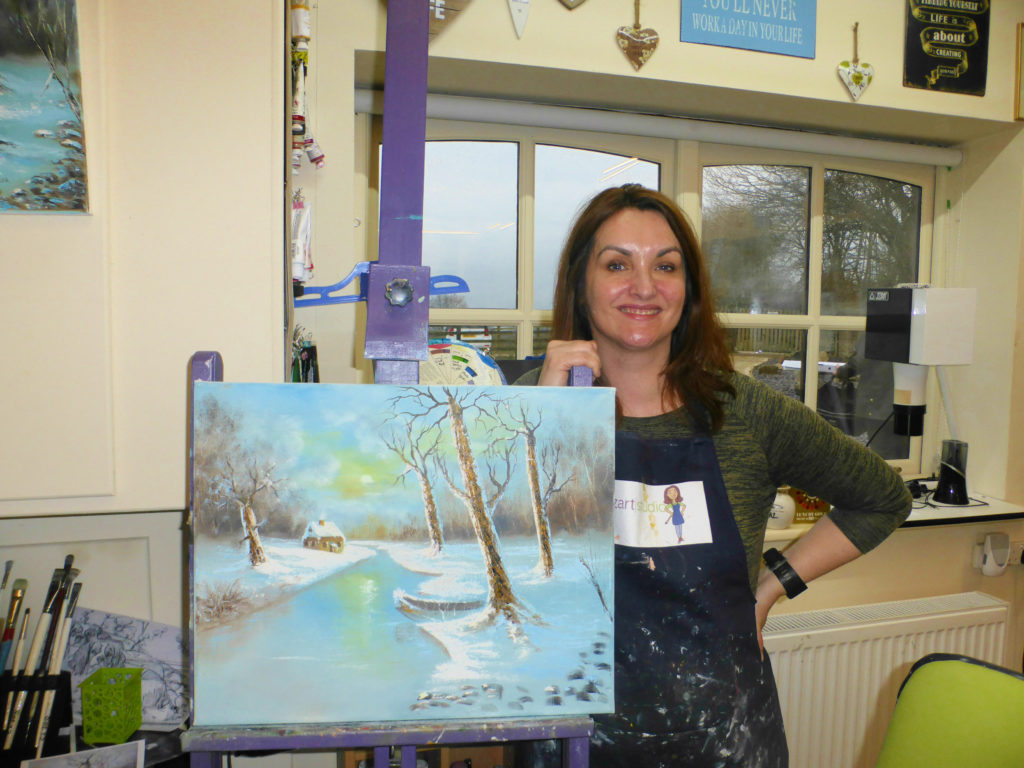
Taking home an artwork that you created yourselves is very cool!
Once we were happy that we had finished, we had to clean up the pallets and brushes, and get our photos taken for MazArt’s Facebook page. We took our own pictures too, and Amy even got one of Maz with her artwork. We were both impressed with what we had done. However, we kind of felt it was a bit less complete than the tulips one we did last time (pictured below). Having said that, it was a much more challenging oil painting class this time we felt, which added to our sense of achievement.
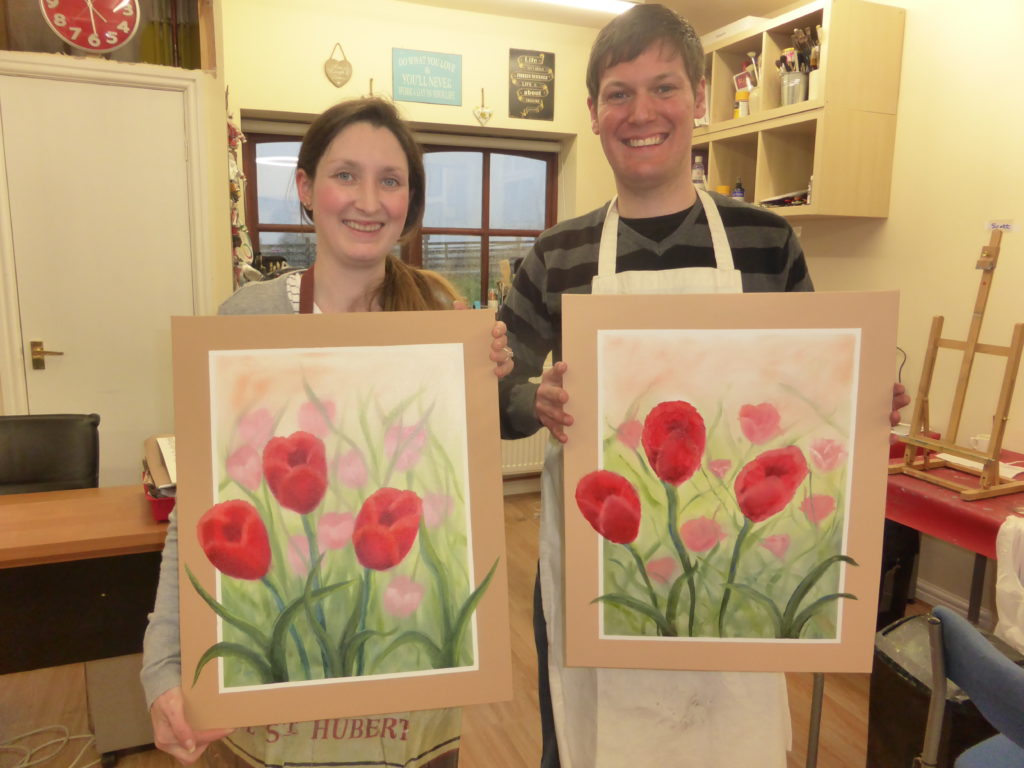
What do you guys think of our first oil painting efforts? Have you ever been to an oil painting class? Would you like to?

